How to set up A/B tests in React Native (Expo)
Mar 01, 2024


A/B tests helps you improve your React Native app by enabling you to compare the impact of changes on key metrics.
PostHog makes A/B testing in React Native simple. To show you how to set it up, we create a basic app with Expo, add PostHog, create an A/B test, and implement the code for it.
This tutorial focuses on React Native apps built with Expo. However, PostHog also supports non-Expo apps. See our React Native docs for details.
1. Create a new React Native app
Our app will have two screens:
- The first screen will have a button which navigates you to a second screen.
- The second screen will either have a
redorgreenbackground color – depending on whether the user is in thecontrolortestvariant of our A/B test. It will also have a button which captures an event when it's pressed. We'll use this event as our goal metric for the test.
First, ensure you have Node (v14.0 or newer) and Watchman installed. You also need the Expo Go app on either Android or iOS.
Then create and run a new app:
Open your Expo Go app on your mobile device, scan the QR code in your terminal, and it should open an app with a white screen and some text.

Next, we set up our app's basic functionality. To set up our stack navigator, we install @react-navigation/native-stack as a dependency and create a new file AppNavigator.js in our project directory. We also create two new files for our screens:
Add the following code to AppNavigator.js:
Then replace the code in App.js to use the navigator:
Next we set up the code for our screens:
Our basic set up is now complete. Re-run npx expo start to see our app in action.
2. Add PostHog to your app
With our app set up, it’s time to install and set up PostHog. If you don't have a PostHog instance, you can sign up for free.
To start, run npx expo install posthog-react-native expo-file-system expo-application expo-device expo-localization to install PostHog’s React Native SDK.
Then, we set up the PostHogProvider in App.js so that we can access our client throughout the app:
You can find your project API key and instance address in your project settings.
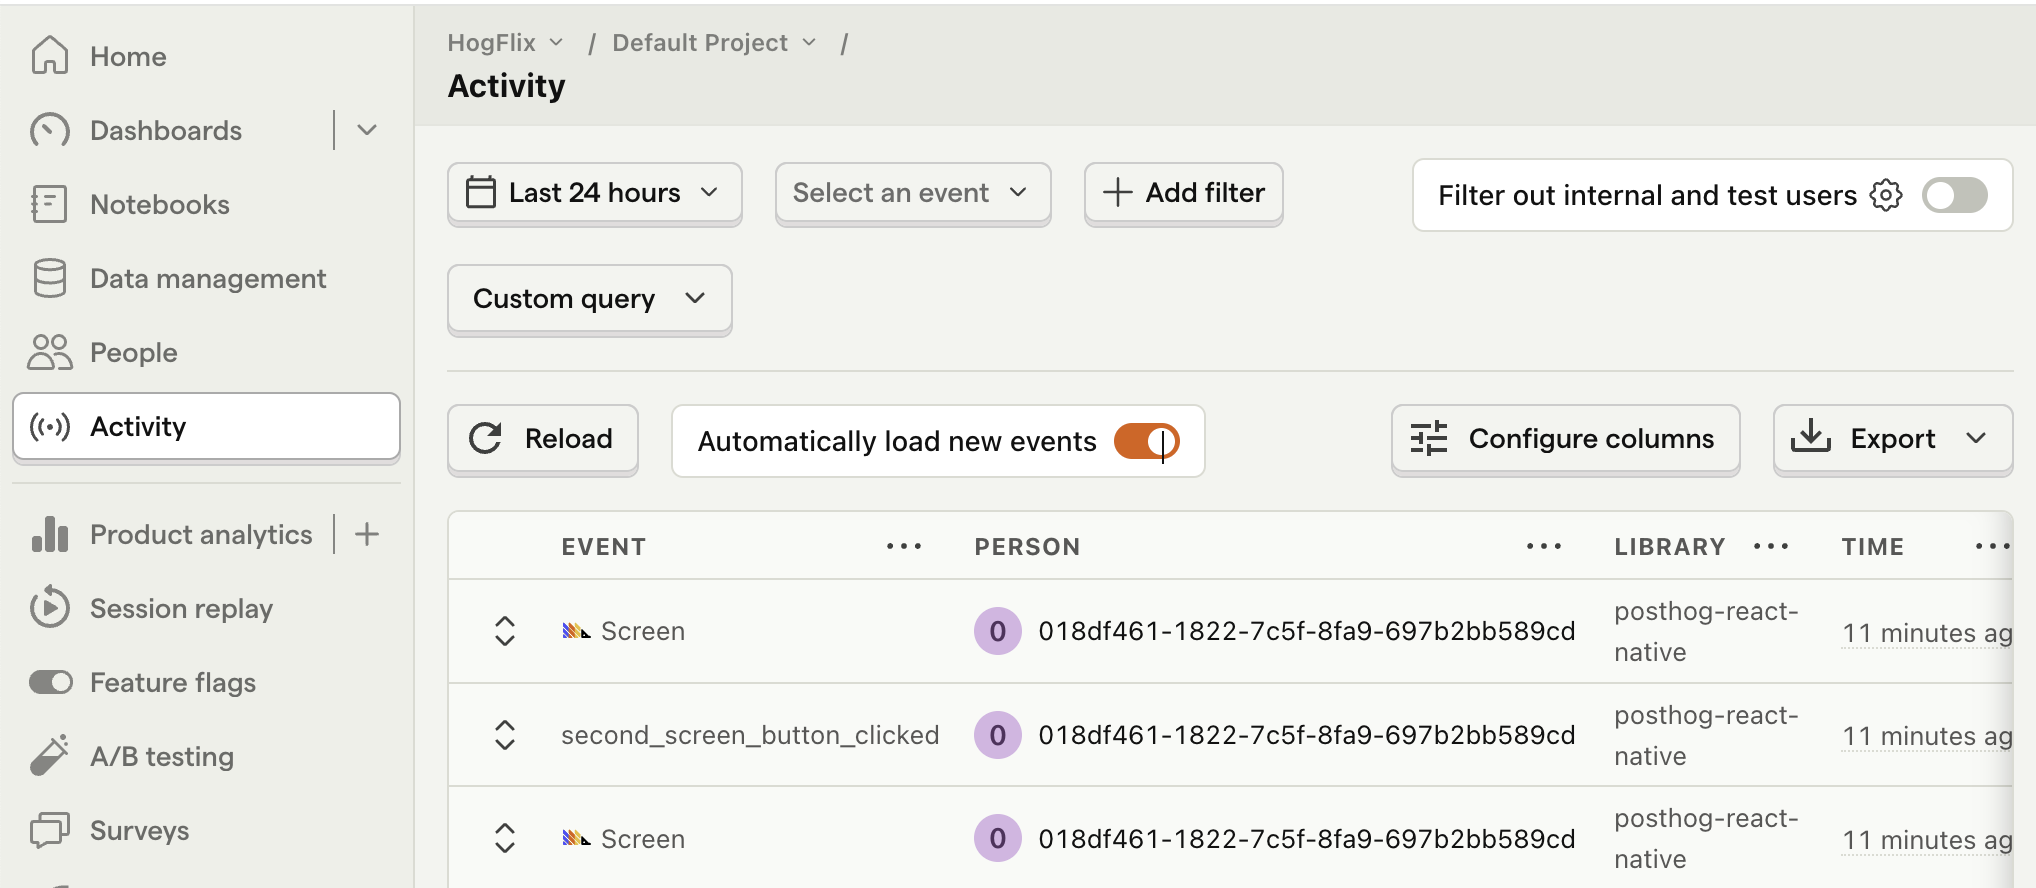
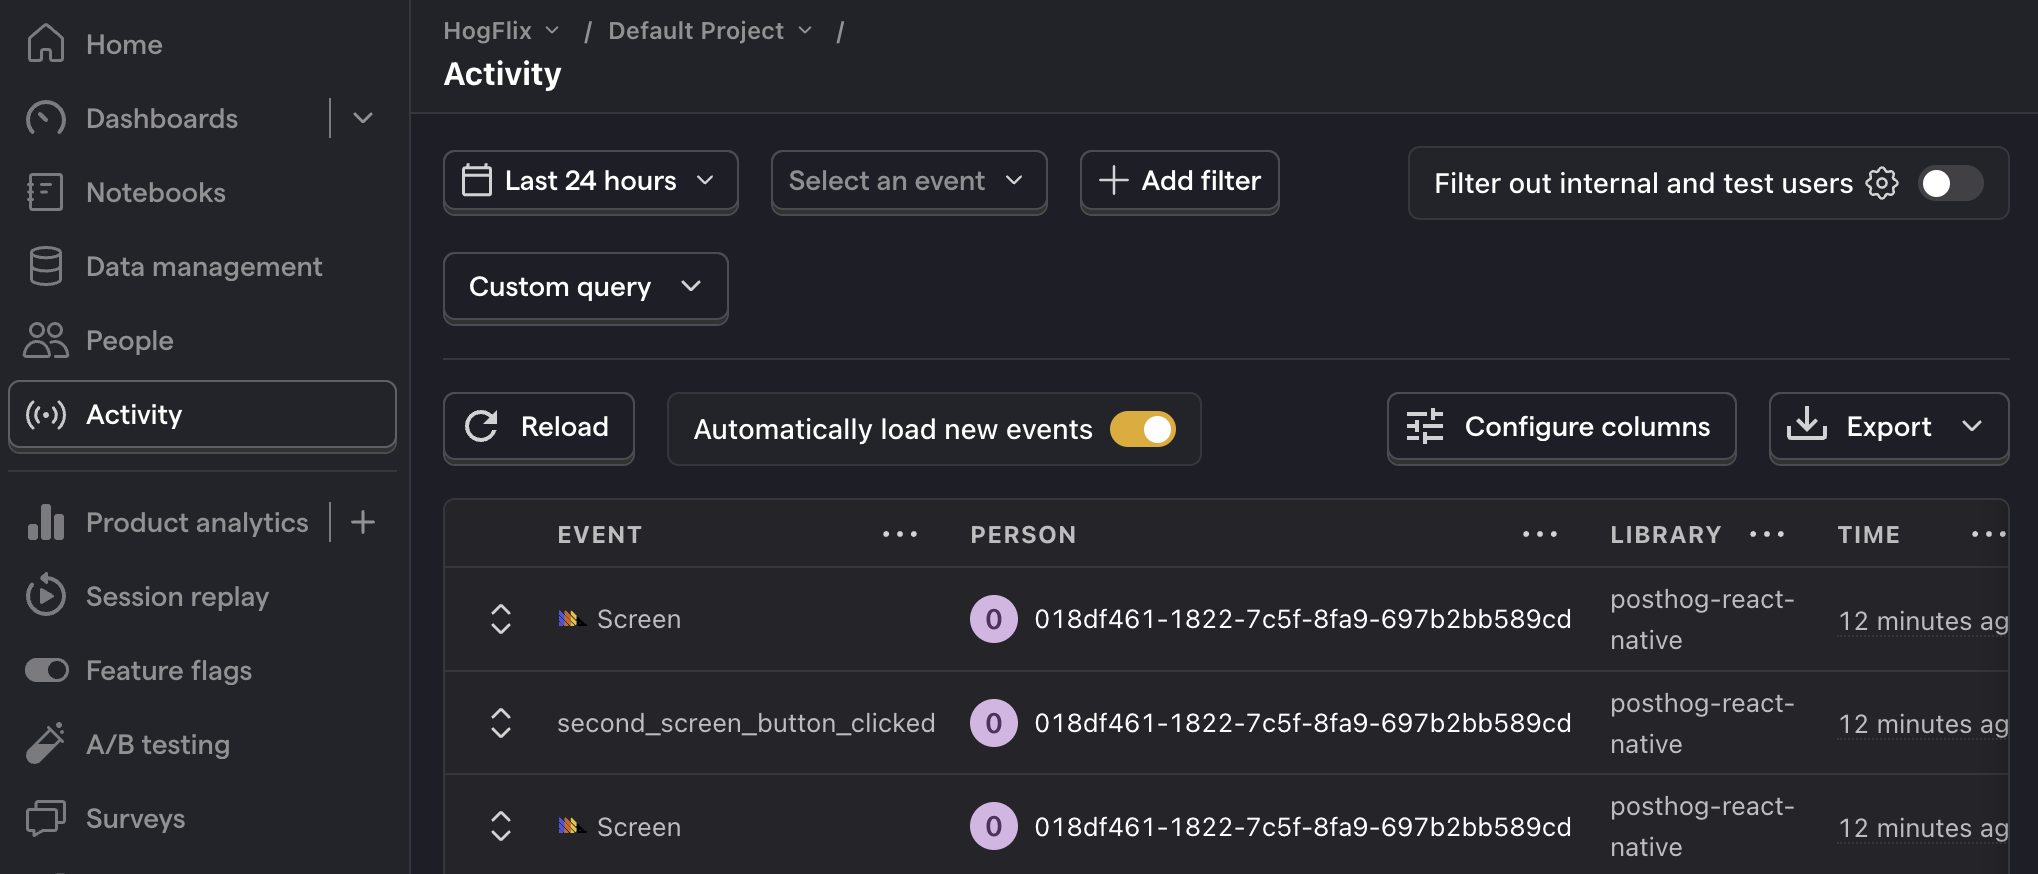
Finally, we capture a custom event when the button on SecondScreen is clicked. We'll use this event as our goal metric in our A/B test.
To check your setup, re-run your app. Click your button a few times. You should start seeing events in the activity tab.
3. Create an A/B test in PostHog
If you haven't done so already, you'll need to upgrade your PostHog account to include A/B testing. This requires entering your credit card, but don't worry, we have a generous free tier of 1 million requests per month – so you won't be charged anything yet.
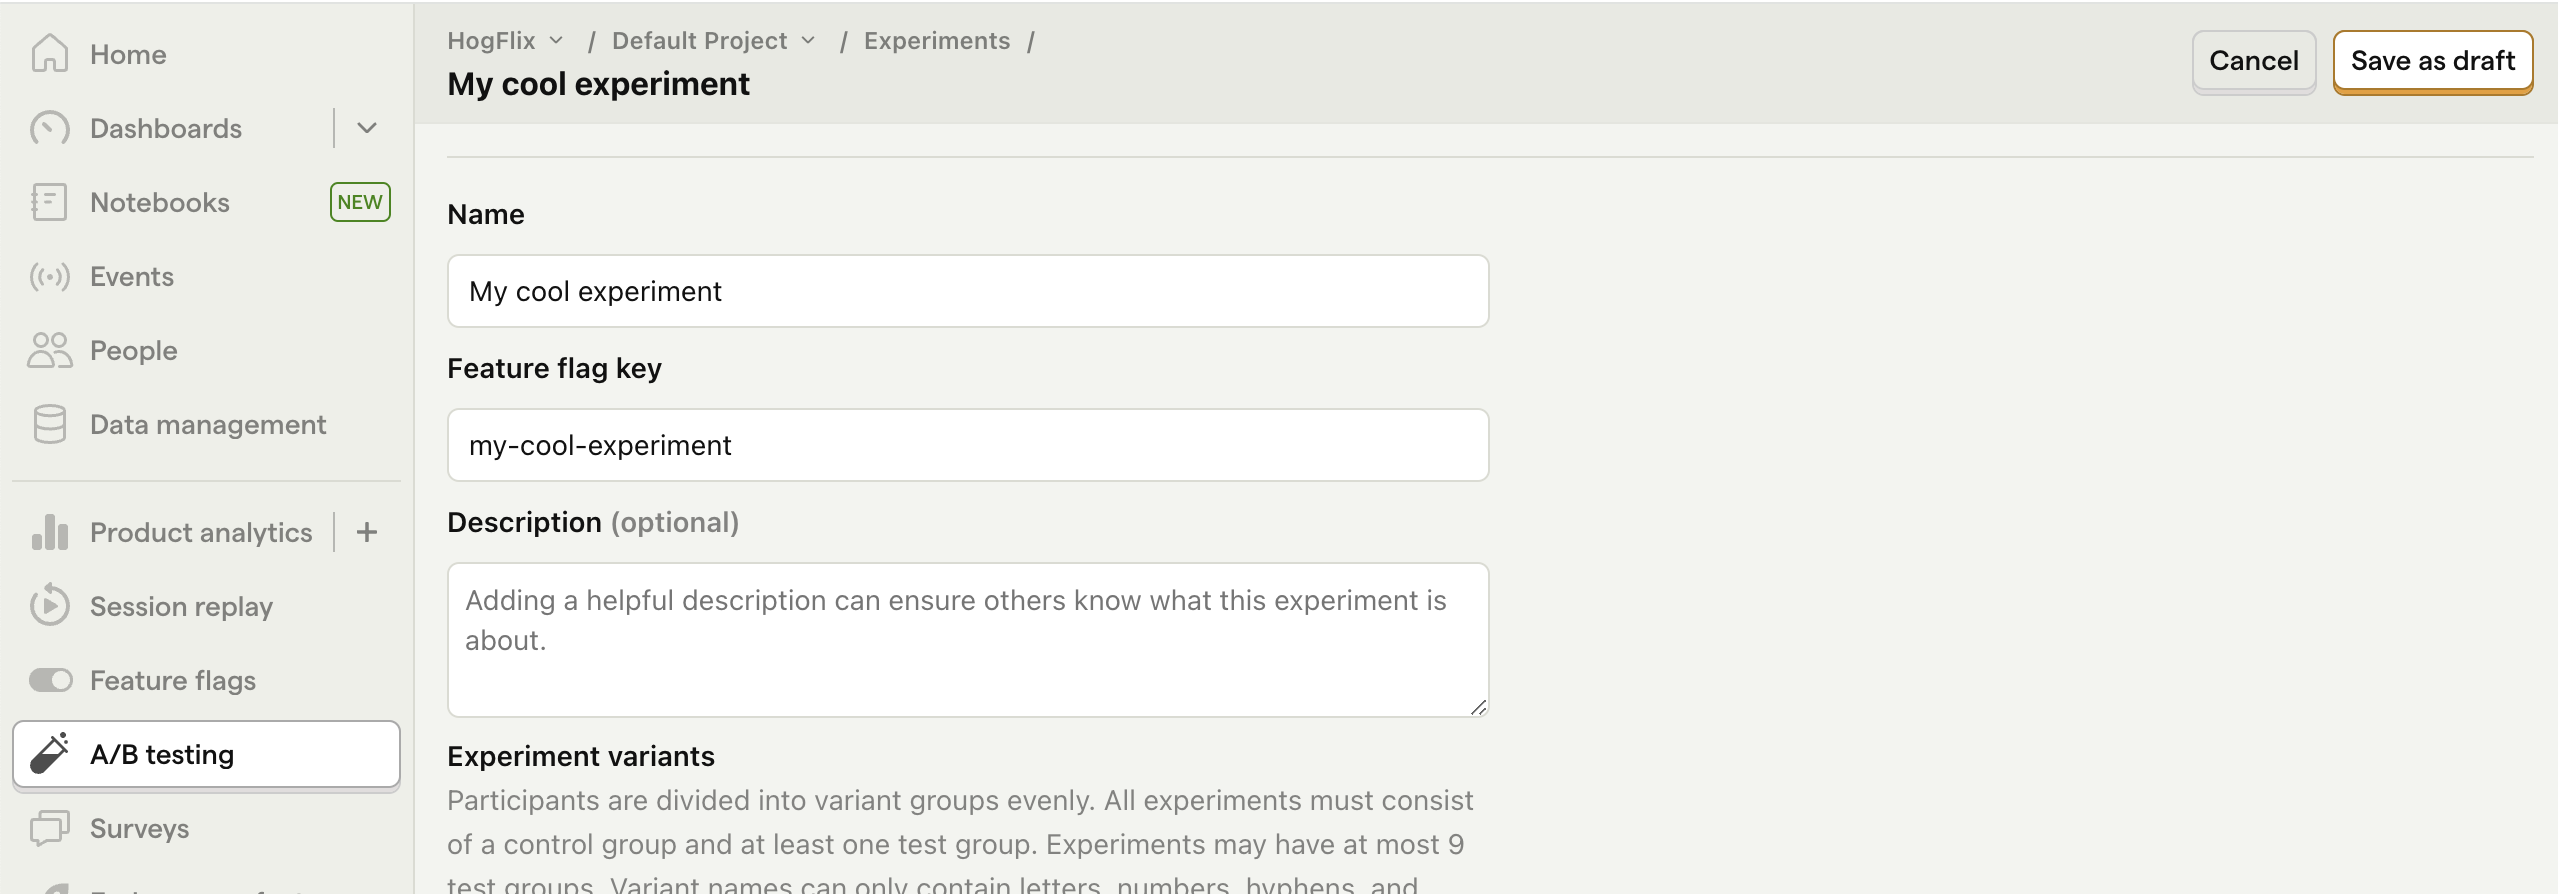
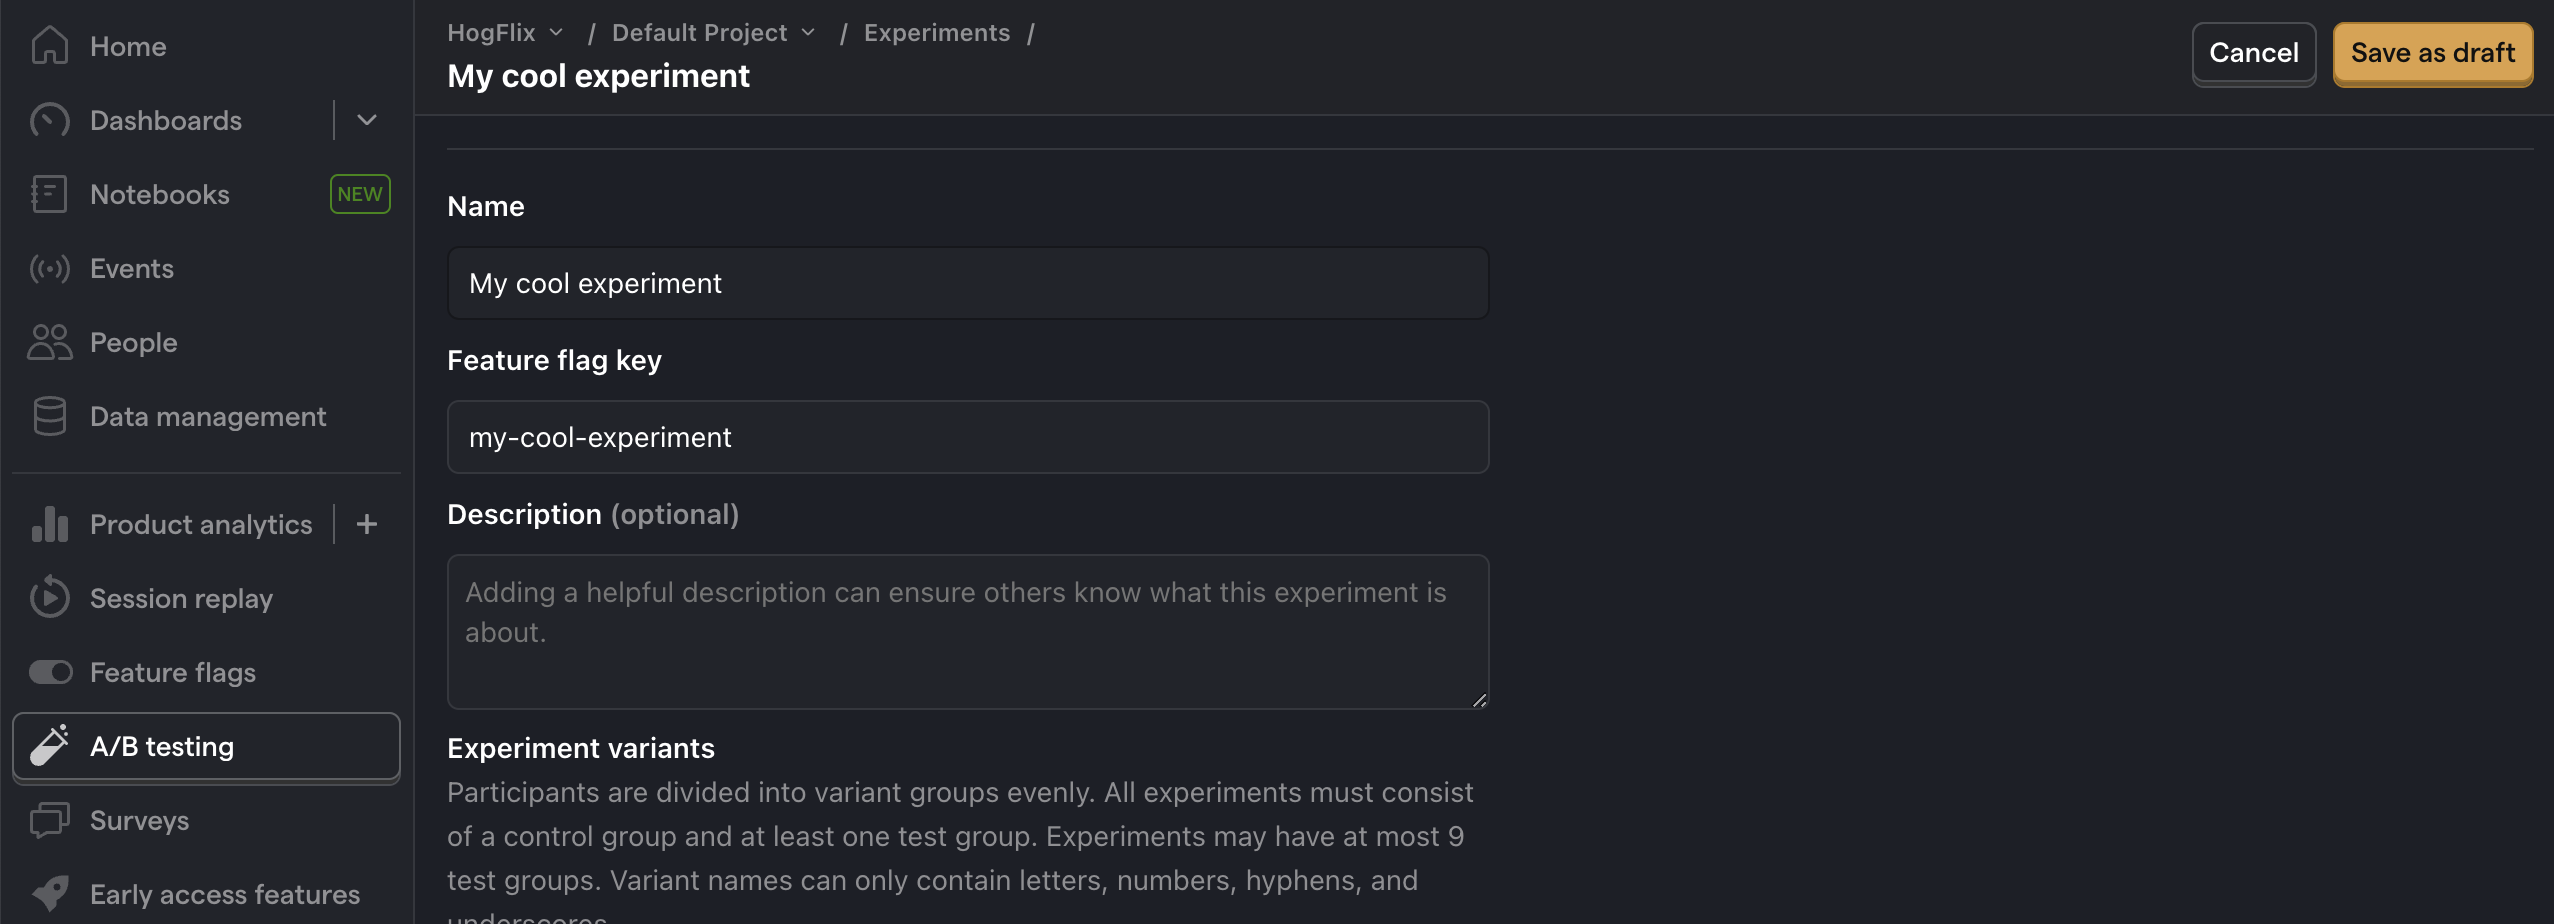
Next, go to the A/B testing tab and create an A/B test by clicking the New experiment button. Add the following details to your experiment:
- Name it "My cool experiment".
- Set "Feature flag key" to
my-cool-experiment. - Under the experiment goal, select the
second_screen_button_clickedevent we captured in the previous step. - Use the default values for all other fields.
Click "Save as draft" and then click "Launch".
4. Implement the A/B test code
The final step is to add the experiment code. We'll add code that does the following:
- Fetch the
my-cool-experimentflag. - Change the background color of
SecondScreenbased on the value of the flag (controlortest).
To do this, we implement the useFeatureFlag hook:
That's it! Your A/B test is now ready. When you run your app, you see either green or red as the background color of SecondScreen. PostHog will capture button clicks for each variant to calculate if changing the color has a statistically significant impact.
If you want to test both variants of your experiment to make sure they are working correctly, you can add an optional override to your feature flag:
Lastly, you can view your test results on the experiment page.
Further reading
- A software engineer's guide to A/B testing
- How to set up React Native (Expo) analytics, feature flags, and more
- How to set up A/B tests in iOS